Use Windows Configuration Designer to deploy apps
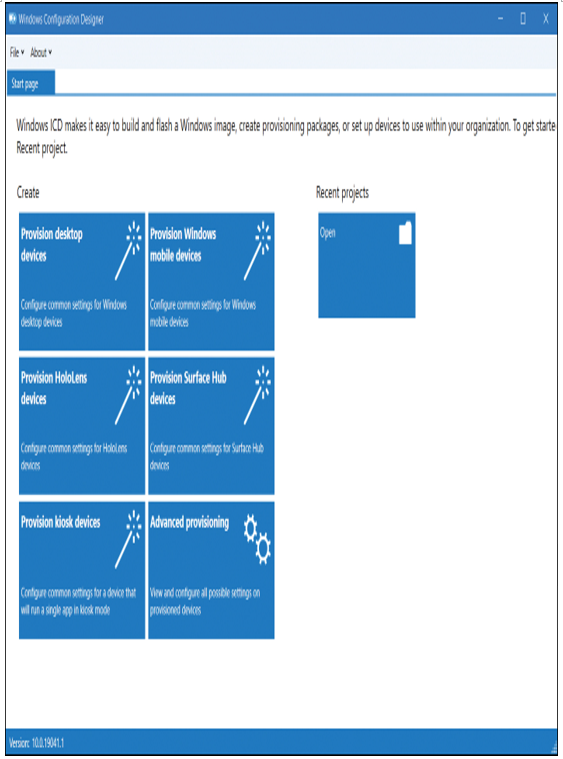
You can use the Windows Configuration Designer tool, displayed in Figure 4-27, to reconfigure your deployed Windows 10 devices by creating and distributing provisioning packages.

Figure 4-27 The Windows Configuration Designer home page
To install Windows Configuration Designer, download and install the Windows Assessment and Deployment Kit (ADK).
Create provisioning packages to deploy apps
You can use provisioning packages to perform a number of management tasks, including deploying apps. To deploy apps, start by opening Windows Configuration Designer. On the Start page, click the option that best describes the type of provisioning that you want to do. If you are uncertain, choose Advanced Provisioning.
Use the following procedure to create your provisioning package to deploy a universal LOB app:
- Select Provision desktop devices.
- In the New Project Wizard, on the Enter project details page, in the Name box, enter the name for your provisioning package and a meaningful description. For example, enter LOB apps, add a suitable description, and then select Finish.
- A new tab opens for your deployment. If you only need to deploy apps, then select the Add applications tile, as displayed in Figure 4-28.

Figure 4-28 Adding apps to a provisioning package
- In the Application Name box, enter a name for your app. Browse and locate the installer file. This can be an MSI installer or an APPX package file. If you choose an MSI installer, select Add.
- If you want to add additional apps, repeat this procedure. For an APPX package, after selecting the installer, if you need a license file for the app, browse and select that. Then, additionally, enter a package family name and then select Add.
For packaged apps (store apps), since they must be signed, you might also need to deploy a CA root certificate to your devices if they are not part of your AD DS forest.
- When you’re done, select Finish.
- You can then create your provisioning package by selecting Create. A link displays to the package.
Note Advanced Editor
You can also review the settings, and modify them, using the advanced editor. Select the Switch To Advanced Editor link.


